How to Adjust or Void cheque Tutorial on Sage 50
Hi Everyone
This tutorial is about adjusting or cancelling a payment made to a supplier. In some cases, I have made a payment and need to adjust that payment and reprint new cheque or I need to cancel or void the cheque all together.
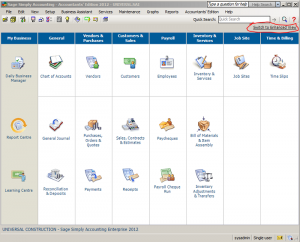
For this tutorial, my home screen is set to Classic View. If you need to change. on the top right hand corner of sage 50 home screen you can change from Enhanced View to Classic View.
Let us get started.
First, we need to find the payment. Go to your sage 50 home screen and click on Payments.
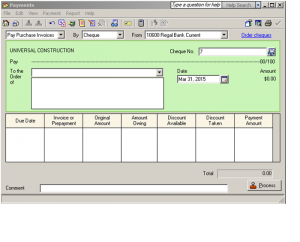
In the payment journal top menu bar drop down payment menu and choose Look up Payment.
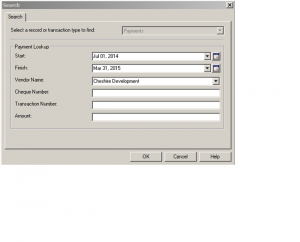
Now you are on Search screen. Fill in the selected fields with the information you have. The start and finish date should be within the time the original cheque was done. Choose the vendor name, if you have the previous cheque number you can fill in the Cheque Number field, if you have the Transaction Number or Amount you can also fill in those fields. Normally I just make sure my dates are correct and choose the vendor or supplier name and click ok.
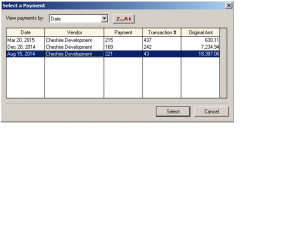
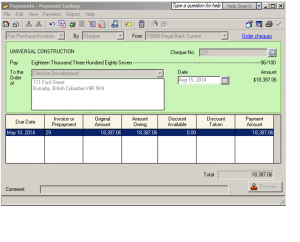
A Select a Payment screen pops up. I will choose payment (same as cheque number) 221 and hit Select.
This is your original payment. In this view, none of the fields is available for change. You need to click on Payment drop down menu and choose adjust Payment or click on the short cut pointy red pen.
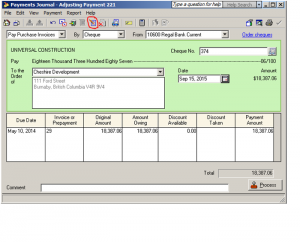
Now the fields are available for you to make changes. I changed the cheque number and date.
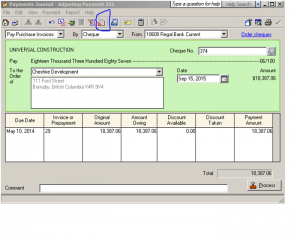
NOTE: You can also cancel/void this payment using payment drop down menu and choosing Void Payment or by clicking on the shortcut red X. This will reverse the payment and put the invoice back on supplier account as unpaid.
This concludes our tutorial session. If you have any comments or questions feel free to drop me a note.
Thanks for coming to my web site.
PST and GST Tax Table Setup Sage 50
Sage 50 PST and GST Tutorial
First, You need to create a PST Payable account in the chart of accounts. In home screen click on chart of accounts-file-create. In the current liability section, 2000 series account, create your account number and the description should be PST Payable and The account Type should be general. Save and close.
You should be back at home screen. Click on setup-settings-company-sales tax-taxes.
In the tax colum type PST and in the account to track tax on purchases and sales columns choose the PST Payable account number you just created.
Next step- click on tax codes on left side of screen. In the code colum type PG and in the description type PST and GST on sales and in use in colum drop down menu or double click and choose sales.
Last step, double click in PG you just typed in the code colum. In tax colum type PST , rate colum type 7, included in price choose No and is refundable choose Yes.
Second line, in tax Colum choose GST , in rate colum type 5 , included in price choose No and is refundable choose Yes.
For your convenient a complete tutorial can be found in a pdf format by clicking on the follwoing Link.
