This tutorial is for those who want to use the inventory module of Sage 50.
To get started take a note of the types of inventory you sell. You may want to categorize them in to groups and create a code and description for each item.
Start Sage 50 program and open Inventory and Services module and from the menu choose File – Create.
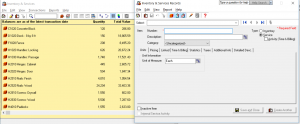
The 1st tab is Quantities. Input your item codes and description make sure Type is set on Inventory or services.
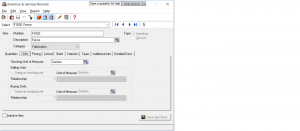
Click on Unit tab and enter the unit of measure. if the item is sold by the Foot, Each or Inch etc.
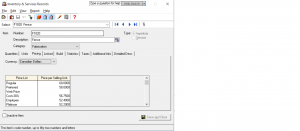
Click on Pricing tab and put in the different kinds of prices you have so it will automatically show up in the Sales Journal.
Click on Linked. In this screen the accounts will be linked. These accounts have to be created in the chart of accounts before you can access them here. These account numbers will appear when you are posing supplier invoices and customer sales invoices.
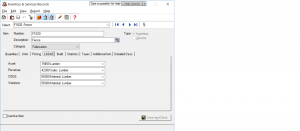
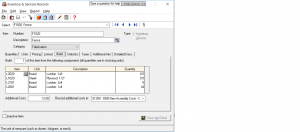
Depending on your company you might need to use Build category. This category is for manufacturing and it allows you to deduct from each raw material item and transfer it to a finished goods item which you can than sell as one unit.
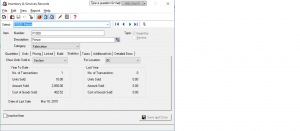
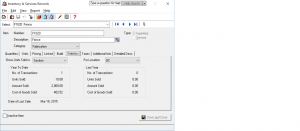
The statistics tab will accumulate data from payable and receivable journals.
Hope this helped. Come back for more tutorials.
How to set up tax table in Sage 50
from home screen drop down Setup menu – Settings – Company – Sales Taxes.
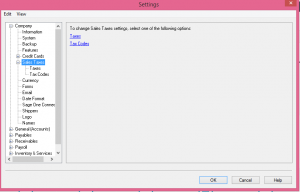
First, lets click on taxes.
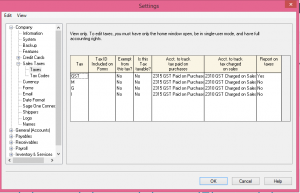 In the Tax colum you can give unique tax names.
Ex: GST, HST, PST depending on the province.
indicate the account number that will be tracking this tax.
For payables account description “GST on Purchases”
and receivables account description ” GST on Sales”
These two accounts should already be setup in the chart of accounts in the liability section.
Ex:
account 2410 Description “GST on Purchases” ( for type choose the subgroup account)
account 2420 Description “GST on Sales” (for type choose the subgroup account again)
Account 2430 Description “Net GST Remit / Refund” (for type choose subgroup total)
now, lets click on Tax Code
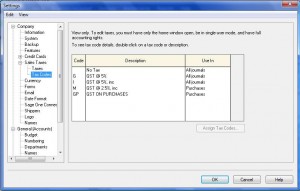 The code section is designated for your taxable goods.
ex: GS and in the description section type: GST on Sales
GP and in the description section type: GST on Purchases
GV – and in the description section type: GST on Vehicle – if you are a company that uses a percentage of the vehicle for business and rest for personal than you have to take a percentage of GST as well. do not claim the full amount of GST when the vehicle is being used fa portion of time.
GM – and in the description section type: GST on Meals – The meals are expenses at 50% so the GST has been claimed at 50%.
in the USE In Colum – indicate if its for Vendor purchases or sales receivable.
Now lets click on the first code “G”
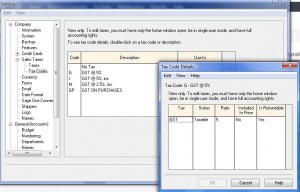 In the tax colum you will put GST or PST, the name of the tax.
Status is Taxable
Rate is 5% or other rate depending on the province
Included in price will be “yes” if its for tracking vendor taxes
it will be “No” if its for tracking sales tax
Is refundable will be “Yes” for GST and will be “No” for PST
Hope this helped with setting up tax tables.
Please send me note if you need further explanation.


 The code section is designated for your taxable goods.